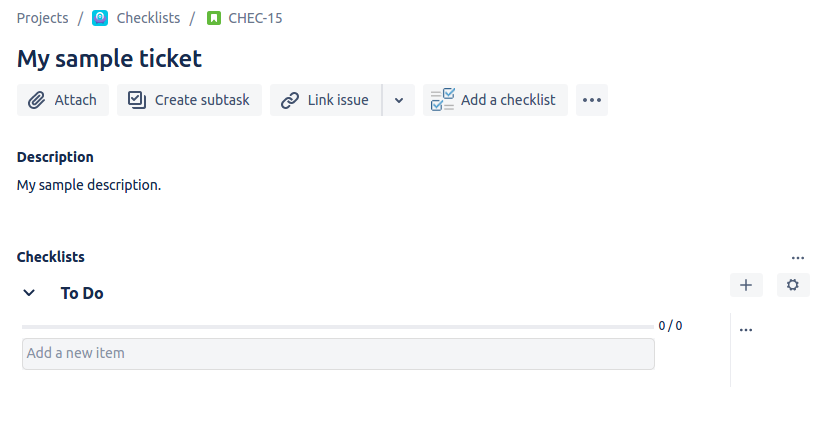
Checklists are accessible from the Jira issue
As soon as Multiple Checklists for Jira are installed, you will notice a new section in your Jira issue view, called “Checklists”. A default “To Do” checklist is available there and ready to use. If you don’t want to use checklists in a certain project, you can switch checklists off per project.
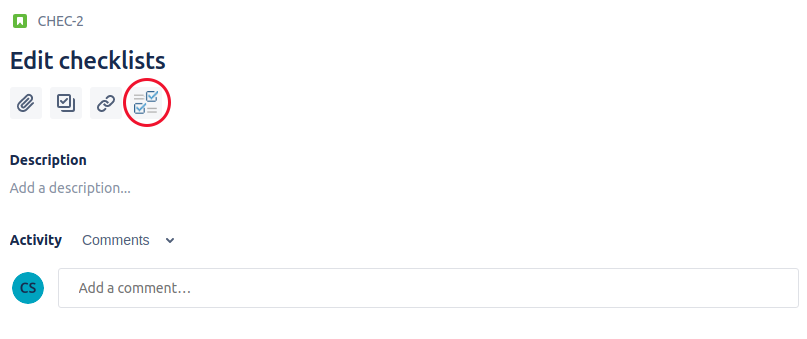
On the new Jira issue view, you might need to click the checklist icon first to show checklists.
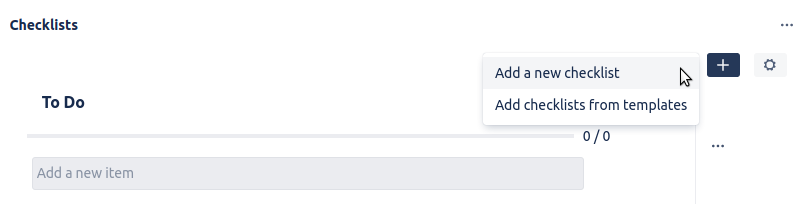
Add as many checklists in one issue as you wish
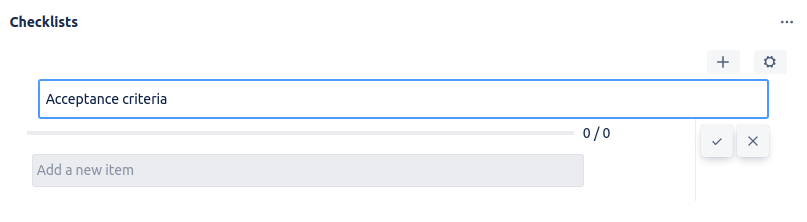
You can easily create another checklist by clicking [+] and [Add a new checklist]
In order to add checklist items, just click on the Add a new item input and start typing! You can add as many checklist items as you wish! You can approve the addition of the item with an [Enter] or via the checkmark button available below the input on the right-hand side.
Edit checklist title and items
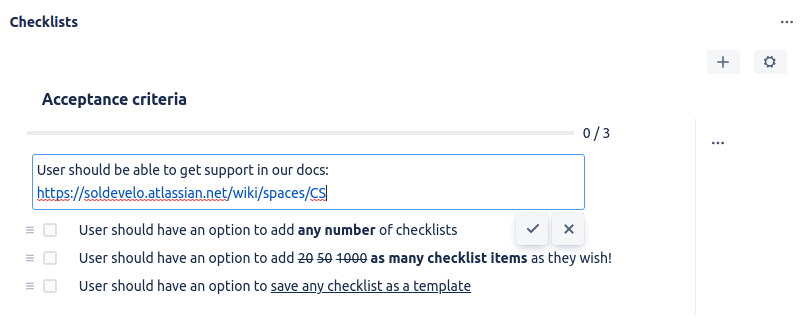
If you have edit permission for the Jira issue, you can also edit the checklist’s title and items. Simply click on the title or relevant checklist item and adjust the text. You can confirm with the check mark button or by pressing Enter. You can click the cancel button to revert to the latest saved version.
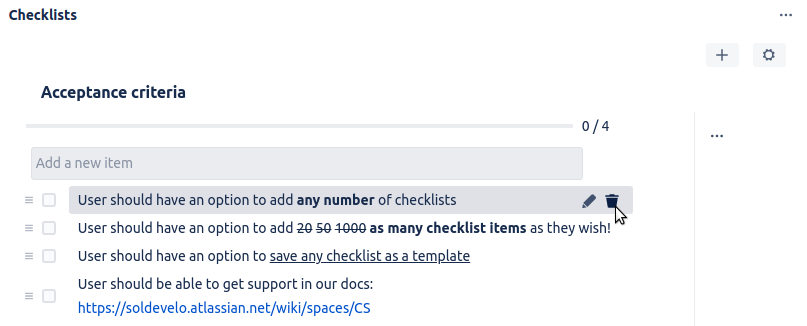
You can also remove the checklist item altogether. To do so, use the bin icon on the checklist item after hovering over it.
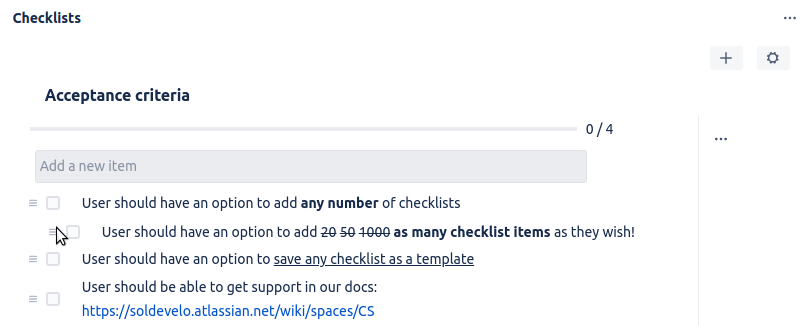
Reorder checklist items
Each item on your checklist can be moved to a different position. Simply drag and drop the item, using the icon next to the checkbox.
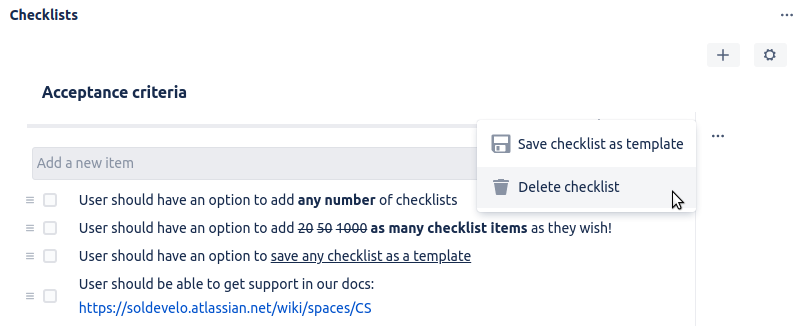
Delete checklists
In case you do longer need a specific checklist, you can remove it from an issue. Please note that it will also delete all of the checklist items created within this checklist.