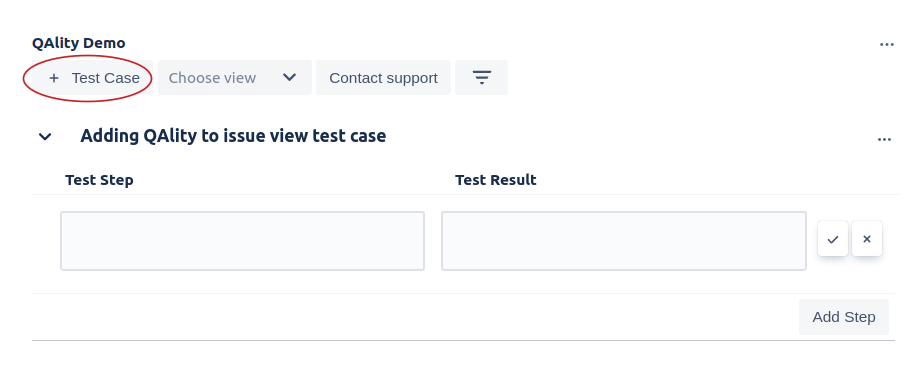
Create a test case directly in the Jira issue you want to test
To create a new test case, click + Test Case. This will add a new test case with the default name equal to the Jira Issue you're working on.
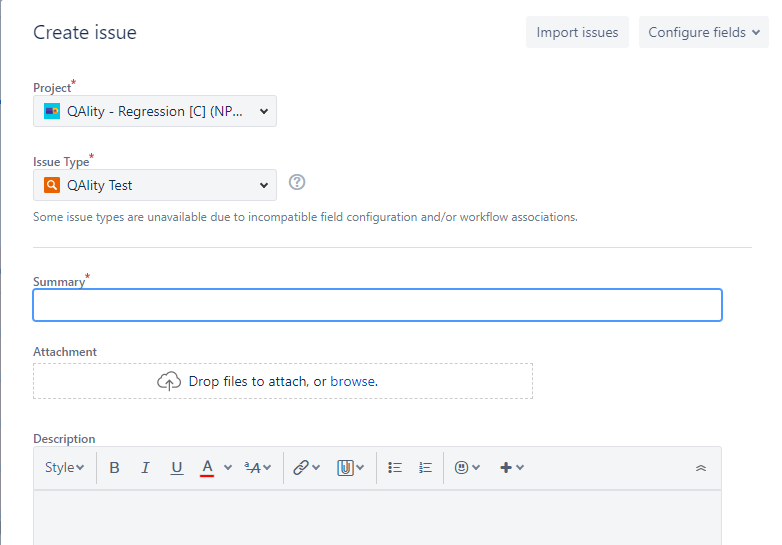
Create a test case by creating a new Jira issue
It is also possible to create a new test case, by simply creating a new Jira issue. Click on create issue, select “QAlity Test” as the issue type, set any required fields, and confirm. This newly created issue will represent your test case. You can modify and execute this test case directly from this Jira issue. You can also link it to other tickets so that it shows up there too.
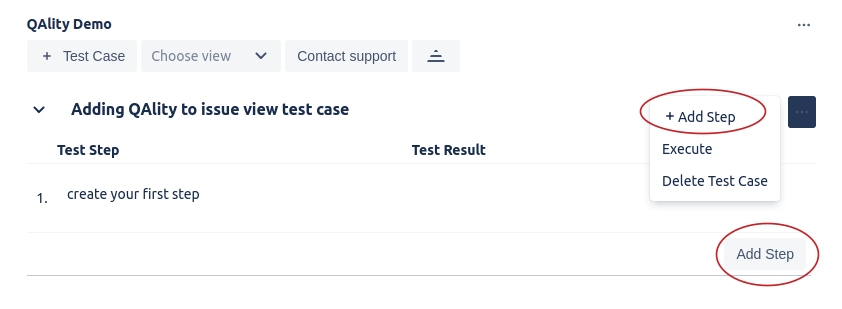
Add test steps to your test case
After you've created the test case, you can add steps within it. This can be achieved in several ways.
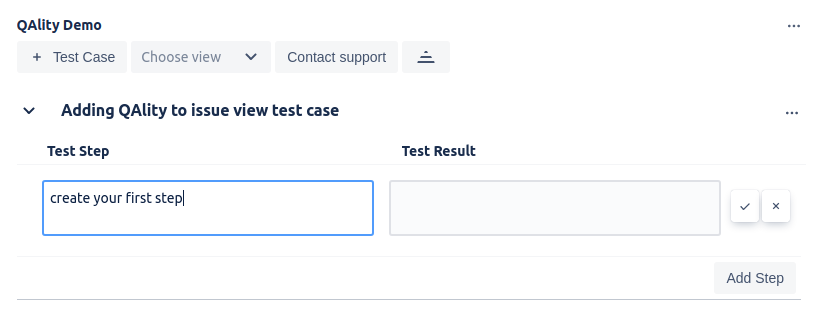
If you’ve just created a test case your cursor is automatically focused on the step’s input. Insert the required information and accept using the checkmark button. This will also automatically create the inputs for the next step.
You can also click Add Step at the bottom of the test case or click the test case menu and then select +Add Step.